
How green screen works and why should you use it
What is green screen?
From early experimental film to the big blockbusters of modern-day cinema, green screen has been used to bring amazing stories to life!
It might seem to the budding video maker that such amazing effects are beyond our reach but with a little time, knowledge and the right gear, you’ll be surprised what you can achieve! Before you do it’s worthwhile understanding what green screen is. Generally speaking its a term used by visual effects editors for cleverly bringing two or more clips together to make one based on the colour used (in this case, green).

When was the first green screen used?
Film director Larry Butler first used a single block of colour in his 1930s film The Thief of Bagdad. Although blue he chose this single colour as it was vastly different to that for the actors skin colour and was able to amaze his audience with special effects and exotic locations! When making film and video changed with technology, green was used in almost all special effects filming!
How to record your own green screen videos
I would not like to be a genius trapped in a bottle but if you wanted to record your own fantasy adventure film with your friends creating fund green screen effects at home is not far away!
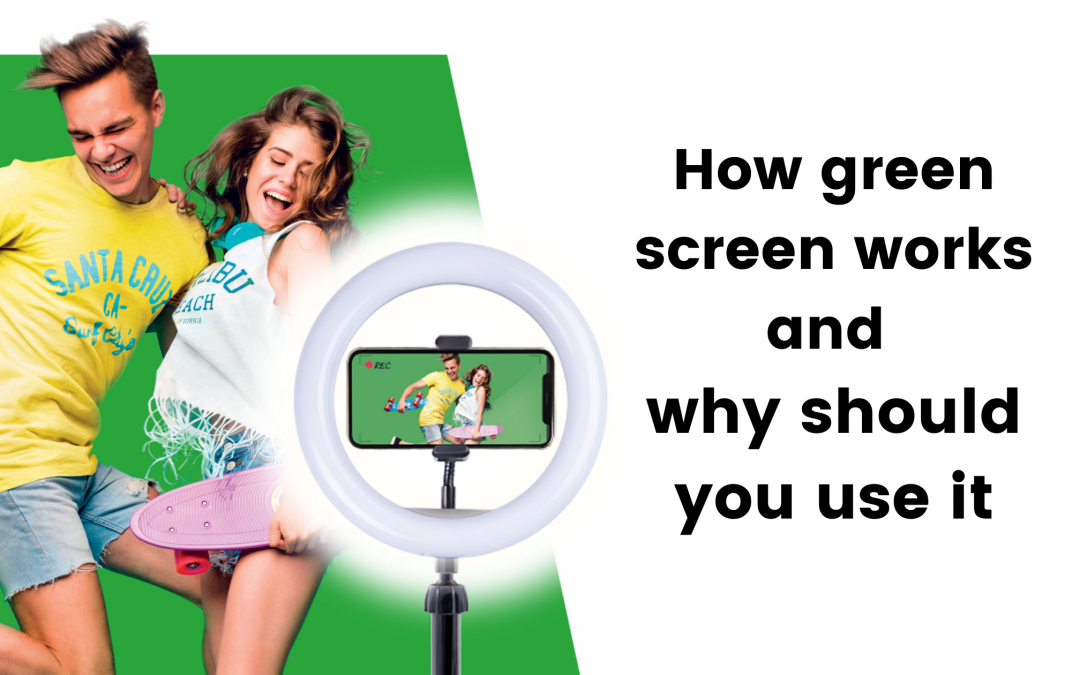
You need a few things to get you started, a sheet of green material large enough for the project you have in mind, a good source of light and at least one stand or tripod to hold your camera/phone and your light source so you and the background are evenly lit. We produce the Studio Creator kit which has everything you need, more info on our Deluxe set here.

Using this set up with one of the many free green screen or chromakey apps on iTunes or Play will allow you to insert your own backgrounds into your videos in no time at all!
Fix your green screen against a door or wall in a well-lit room placing your stand and light source in front of it. (tip: make sure there’s at least a metre between where you stand and the green screen, that way you’ll avoid any of the green reflecting onto your skin whilst recording).
Set up your light so it lights you, especially your face if you’re recording something for TikTik, pick your background (understanding this before you start will help later on!) and hit record! Record your green screen scene and once you’re happy use an app like Chromavid or iMovie to bring your chosen background in over the top of the green screen background you recorded against!
Wow! Well done – looking cool! 😎
Quick checklist for recording your own green screen videos
The apps on most modern mobile phones and tablets make it fun and easy to do but to get you going here’s a simple checklist to get you recording your own green screen videos.
1. Firstly find a topic, “what is my video about?”. Think about something you are good at or take inspiration from others but remember to be unique and true to yourself.
2. Create a script and rehearse! You should plan ahead, this will help keep your videos short and to the point, which means less editing!
3. Lighting. Pick a good light source, one like our LED light ring that has different light settings to match where you are recording. Try and fill in any shadows with another light source and or some white card, making your green screen effect even more impressive!
Share your creations with us!
Now that you know what green screen is and how to record your own green screen video, get out there, get creative and share your creations with us! Use the hashtag #studiocreator and tag us where you can, we can’t wait to see what magical lands you take us to!
Recent Comments